InsuranceLake Quickstart Guide
If you’d like to get started quickly transforming some sample raw insurance data, running SQL on the resulting dataset, and without worrying about CI/CD, follow the steps in this section.
Contents
Python/CDK Basics
Open the AWS Console in the
us-east-2 (Ohio)Region.InsuranceLake uses
us-east-2by default. To change the Region, refer to steps 5 - 8 in the Quickstart with CI/CD.- Select AWS
CloudShellat the bottom of the page and wait for a few seconds until it is available for use. - Ensure you are using the latest version of the AWS SDK for Node.js and AWS CDK.
sudo npm install -g aws-lib aws-cdk - Clone the repositories.
git clone https://github.com/aws-solutions-library-samples/aws-insurancelake-infrastructure.git git clone https://github.com/aws-solutions-library-samples/aws-insurancelake-etl.git - Change the working directory to the location of the infrastructure code.
cd aws-insurancelake-infrastructure Create a Python virtual environment.
In CloudShell your home directory is limited to 1 GB of persistent storage. To ensure we have enough storage to download and install the required Python packages, you will use CloudShell’s temporary storage, located in
/tmp, which has a larger capacity.python3 -m venv /tmp/.venv- Activate the virtual environment.
source /tmp/.venv/bin/activate Install required Python libraries.
You may see a warning stating that a newer version is available; it is safe to ignore this for the Quickstart.
pip install -r requirements.txt- Bootstrap CDK in your AWS account.
cdk bootstrap
Deploy the Application
- Confirm you are still in the
aws-insurancelake-infrastructuredirectory (for example, use thepwdcommand). - Deploy infrastructure resources in the development environment (one stack).
cdk deploy Dev-InsuranceLakeInfrastructurePipeline/Dev/InsuranceLakeInfrastructureS3BucketZones - Review and accept AWS Identity and Access Management (IAM) credential creation for the S3 bucket stack.
- Wait for deployment to finish (approximately 5 minutes).
- Take note of the S3 bucket name for the Collect bucket.
- Bucket name will be in the form:
dev-insurancelake-<AWS Account ID>-<Region>-collect.
- Bucket name will be in the form:
- Switch the working directory to the location of the etl code.
cd ../aws-insurancelake-etl - Deploy the ETL resources in the development environment (six stacks).
cdk deploy Dev-InsuranceLakeEtlPipeline/Dev/*- Wait for approximately 7 minutes for the Glue job buckets, DynamoDB tables, Data Lake Consumer IAM managed policy, and Athena workgroup deployment to finish.
- Review and accept IAM credential creation for the AWS Glue jobs stack.
- Wait approximately 4 minutes for deployment to finish.
- Review and accept IAM credential creation for the Step Functions stack.
- Wait approximately 4 minutes for deployment of Step Functions and Athena Helper stacks to finish.
Try out the ETL Process
- Populate the DynamoDB lookup table with sample lookup data.
resources/load_dynamodb_lookup_table.py SyntheticGeneralData dev-insurancelake-etl-value-lookup resources/syntheticgeneral_lookup_data.json - Transfer the sample claim data to the Collect bucket.
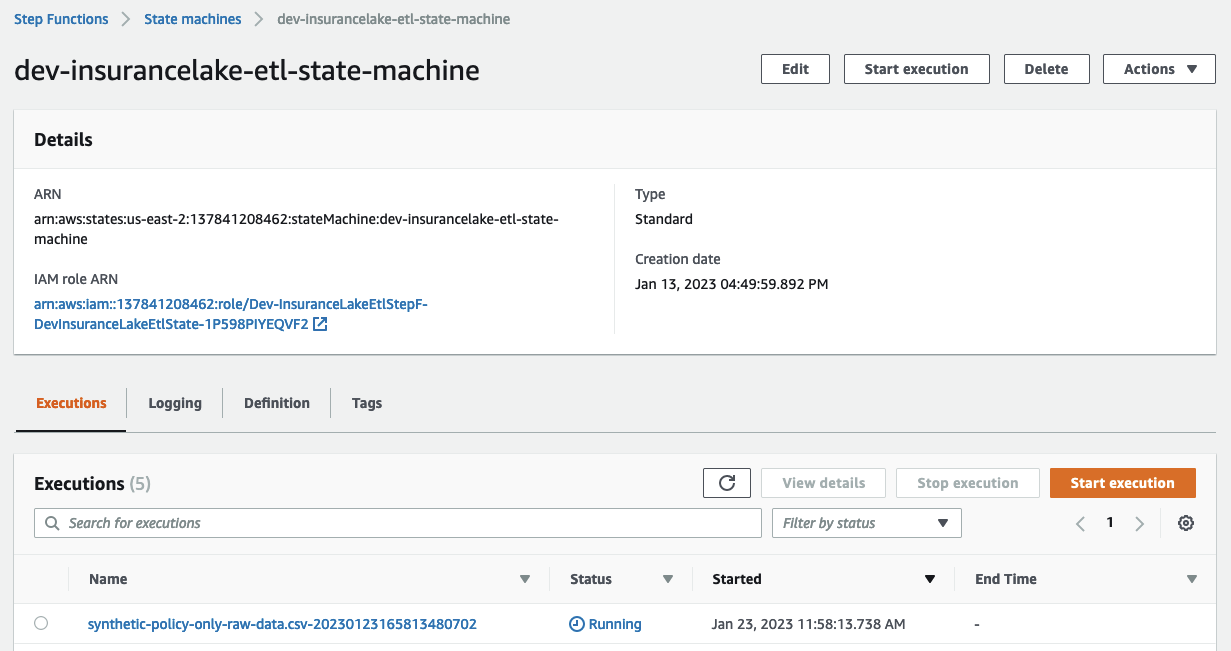
export AWS_ACCOUNT_ID=$(aws sts get-caller-identity --query Account --output text) aws s3 cp resources/syntheticgeneral-claim-data.csv s3://dev-insurancelake-${AWS_ACCOUNT_ID}-${AWS_DEFAULT_REGION}-collect/SyntheticGeneralData/ClaimData/ - Open Step Functions in the AWS Console and select
dev-insurancelake-etl-state-machine.
- Open the state machine execution in progress and monitor the status until complete.
- Transfer the sample policy data to the Collect bucket.
aws s3 cp resources/syntheticgeneral-policy-data.csv s3://dev-insurancelake-${AWS_ACCOUNT_ID}-${AWS_DEFAULT_REGION}-collect/SyntheticGeneralData/PolicyData/ - Use the back button to return to the list of state machine executions. You should see a second execution running.
- Open the state machine execution in progress and monitor the status until complete.
- Open Athena in the AWS Console.
- Select
Launch Query Editor, and change the Workgroup toinsurancelake. - Run the following query to view a sample of prepared data in the consume bucket:
select * from syntheticgeneraldata_consume.policydata limit 100
Next Steps
- Take the InsuranceLake Deep Dive Workshop.
- You may skip to the Modify and test a transform step, as the prior steps overlap with the Quickstart instructions.
- Try out loading your own data.
- Try the Quickstart with CI/CD.
- Dive deeper with the included user documentation.
- Contact your AWS account team for a solution deep dive, workshops, or AWS Professional Services support.